A few things we need to talk about before you rip in and get started.
This mushroom grow kit is guaranteed to grow!
In the following information, you’ll find all you need to grow your own mushrooms. If you run into any trouble please reach out, we are here to help!
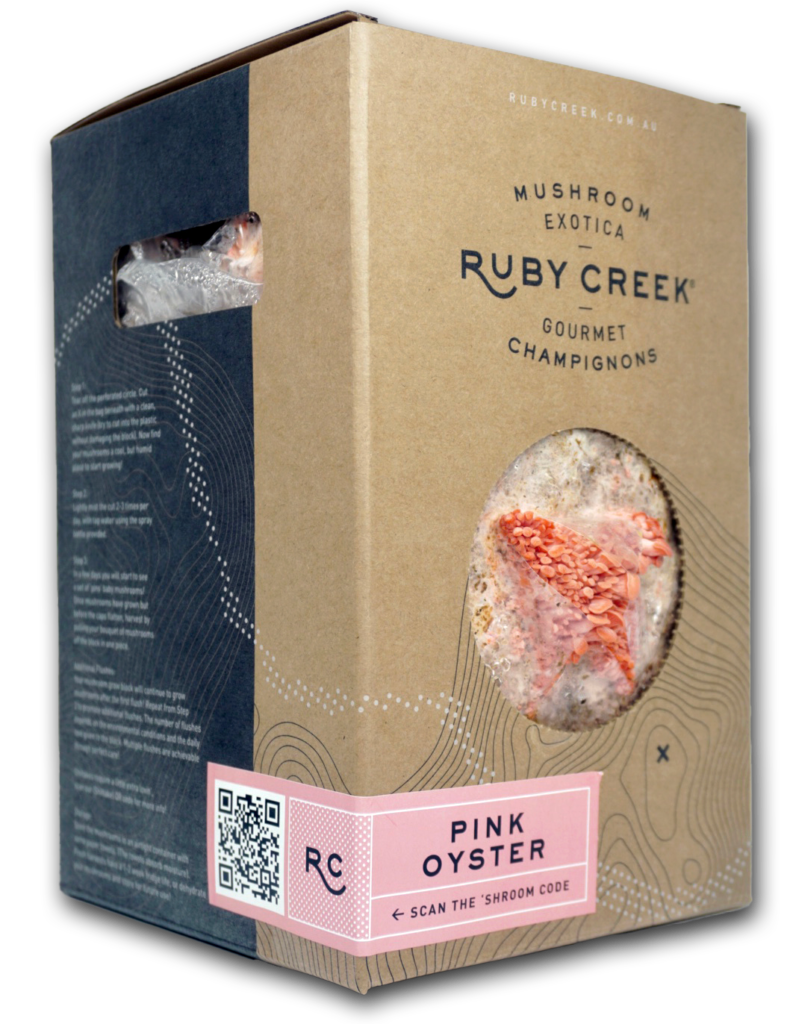
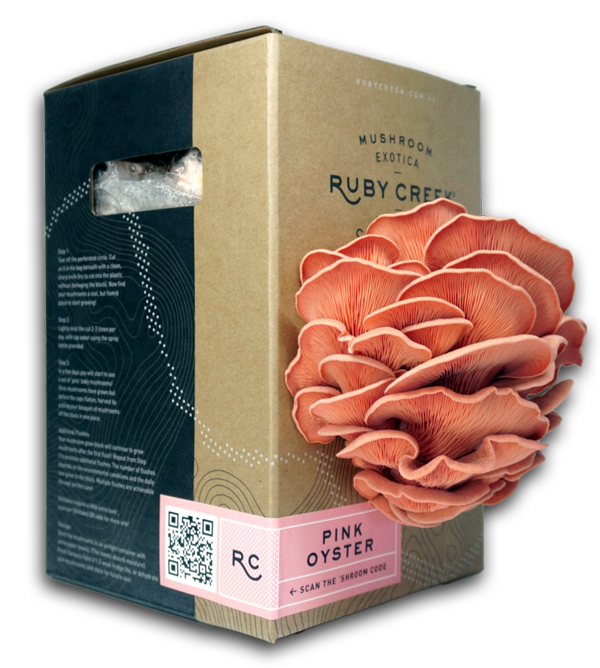
Your mushroom grow block is made from sterilized, supplemented Australian hardwood sawdust. It will be fully colonised with the strain you have chosen to grow, and will be white. This white stuff is called mycelium, it’s a beautiful thing. Your Pink Oyster will have a beautiful pink hue to it, don’t worry, this is good. If you think it’s any other colour, send us an email with a photo straight away so we can determine who’s alive in there!
In your mushroom grow kit you will have received a fully colonized mushroom grow block, ready to fruit, a spray bottle to mist your kit to initiate fruiting, and instructions on how to use your kit.
No worries!
For all our strains except the Pink Oyster, simply place your kit in the fridge to put it to sleep until you’re ready to fruit it. As it’s a living organism, it will try and grow. It will be fine in there for up to 4 weeks, depending on the conditions.
*Do not put your Pink oyster grow kit in the fridge as the cold conditions will shock and kill this tropical loving mushroom.
Another do not do!
*Do not remove the mushroom grow block from its bag. It will dry out and will not produce very good, if any mushrooms.
Your mushrooms like to be kept within certain temperature ranges according to variety to ensure they grow to their fullest potential!
Tan Oyster – 10 – 26°C
Pink Oyster – 23 – 29°C
Yellow Oyster – 18 – 23°C
Pearl Oyster – 10 – 21°C
Lion’s Mane – 18 – 24°C
Now we have the house keeping out of the way let's get this thing started.
*For this next step, adults please supervise the little ones.

Depending on the variety of mushroom you’ve chosen to grow will determine the time it will take before you see a “pin set” of baby mushrooms.
Pinks Oysters are the fastest being within 7 days, Blues/ Pearls, Yellows, Whites, Tans Oysters & Lions mane are from 7 – 14 days. You must be patient.
Once you see baby mushrooms, its only days before they’ll be ready to harvest. As a rule of thumb, the mushrooms will double in size every 24 hours.
Temperature and humidity play very important roles in the mushrooms formation, speed of growth and the depth of colours achieved. So please don’t get discouraged if it’s not what you visualized. It’s environmental and a learning curve!
A few rules of thumb for when to harvest your mushrooms!
Try to pick your crop of mushrooms while the outer edge of the caps are still down turned, before the caps have flattened and most certainly before they have curled up and you start to see a dust like substance on your counter top. These are mushroom spores, their ‘seeds’. Your mushrooms are trying to spread their genetics before it dies.
In all these stages the mushrooms are still edible, the taste profile will vary depending when they were harvested. The shelf life will be determined on when they were picked also. If you picked them early, they will last longer than if spores have been released. For Lions mane, harvest when the spines reach around 1-3mm.

Harvest your crop/cluster in one go, picking the entire cluster at the same time. Peel the cluster up and away from the block, do not cut them from the block. Some substrate will be removed with it, that’s not a problem. Trim the substrate from your mushrooms and store them in your fridge in a container wrapped in paper towel until you’re ready to eat them.
Depending on the variety you’ve grown will determine how long the fridge life will be. Pink Oysters can be stored for 5-7 days, other Oyster mushrooms and Lions Mane will last 7-14 days. For optimum taste and texture, consume at your earliest convenience!
Your mushroom grow kit will continue to grow mushrooms after the first harvest!
Continue misting your kit and before you know it, you’ll have another crop to harvest.
If you’re in a rush and can’t wait, you can remove the block from the box, tape the old X up with tape, turn the block around, reinsert back into the box and cut another X.
Please remember this is a living organism, it does need time to repair and recharge. It won’t produce mushrooms as quickly as it did the first time. Subsequent harvests will decrease in volume. The number of flushes depends on the environmental condition and the daily love given to your grow kit throughout its life.
Once your kit ceases to produce mushrooms, you still have a few options!
You can easily compost your substrate.
You can also spread the substrate through your gardens and on your lawn. Mushroom compost enriches soil quality and increases the water-holding capacity potential to help your plants and lawns through our beautiful Australian summers!
There’s more?
You could even use your spent block/substrate to inoculate a bucket tech mushroom grow of your own, using your block as spawn.
Your grow kit box can go straight into the recycling bin, and the bag can be deposited at your nearest Redcycle collection point!